

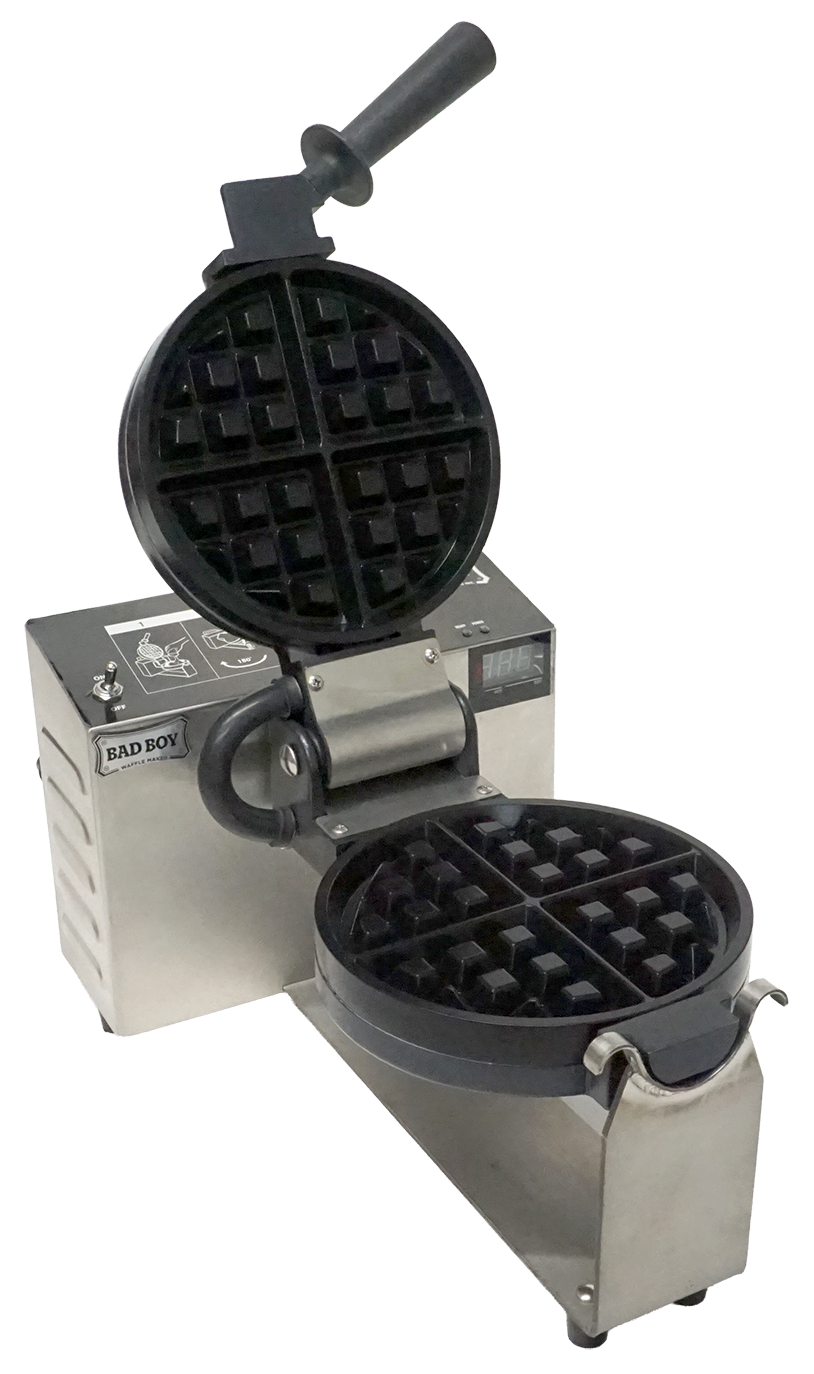
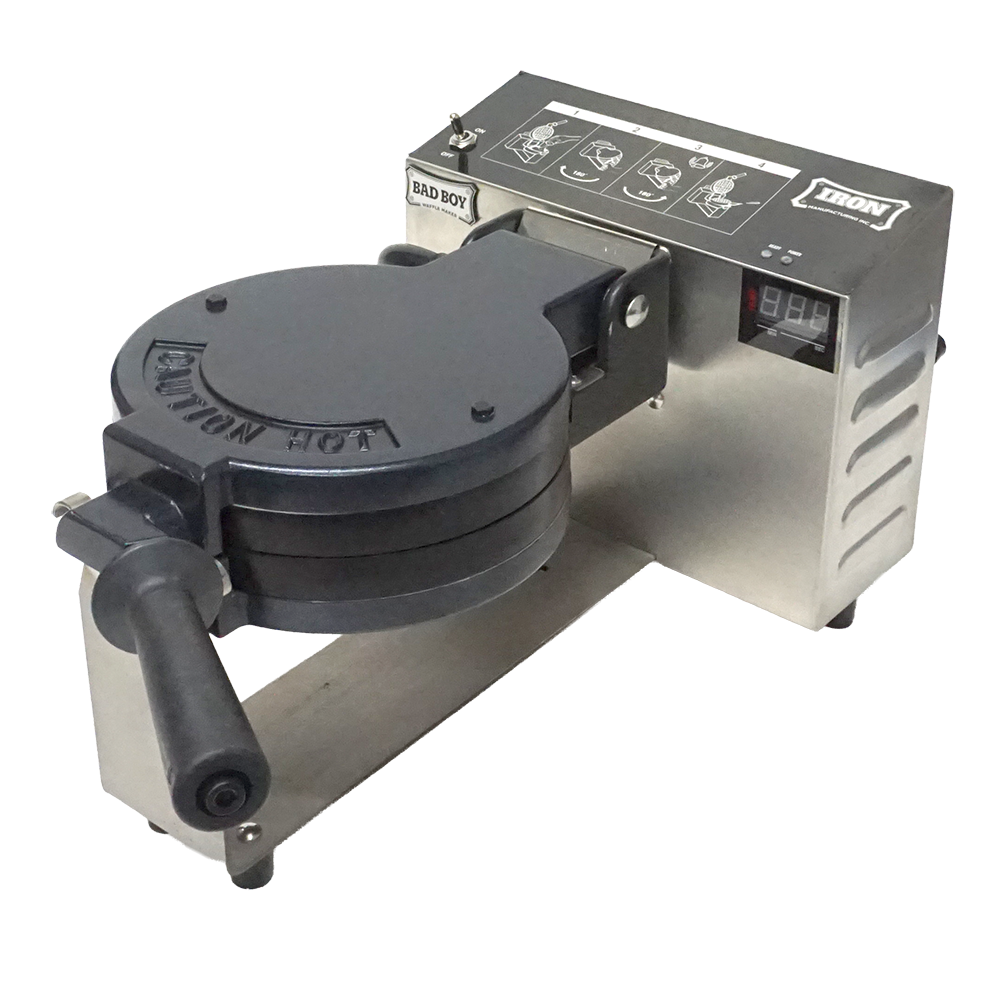
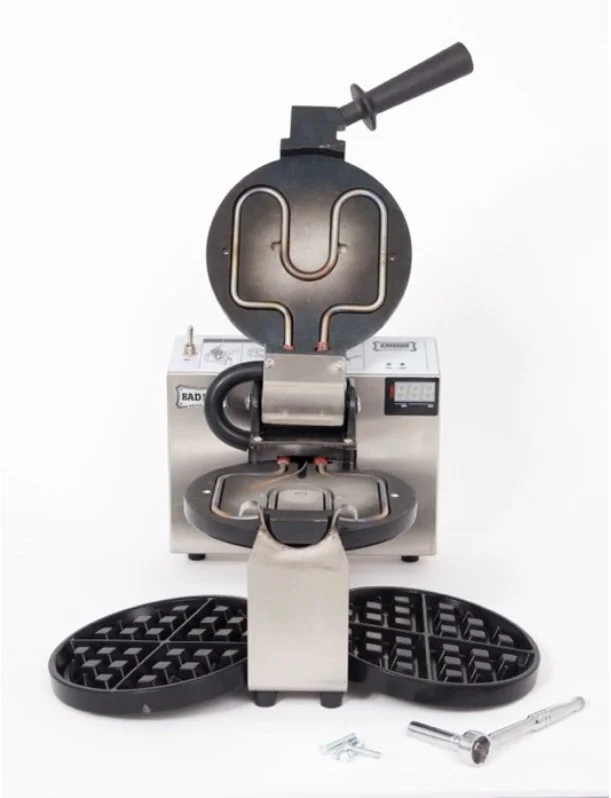
Iron Equipment - Bad Boy Waffle Maker
IE-3000
IE-3000 : WAFFLE BAKER SPECIFICATIONS
Power: 110V/50Hz. 1500 watts 15 Amps (240V Capable).
Dimensions: 10" wide, 16" deep, 8.5" tall
Height open: 23"
Net Weight: 25 lb
GENERAL GUIDELINES
This unit reaches high temperatures and should always be handled with Caution.
This is a commercial food appliance and required daily cleaning as per local Health
regulations.
Must be kept away from sources of water.
Unit requires a designated 20 amp circuit.
Must be kept away from other sources of heat.
Unit should be disconnected when not in use.
Use only plastic utensils, do not use any kind of metal utensils such as tongs, ladles, knives or spoons on the Teflon coated surfaces.
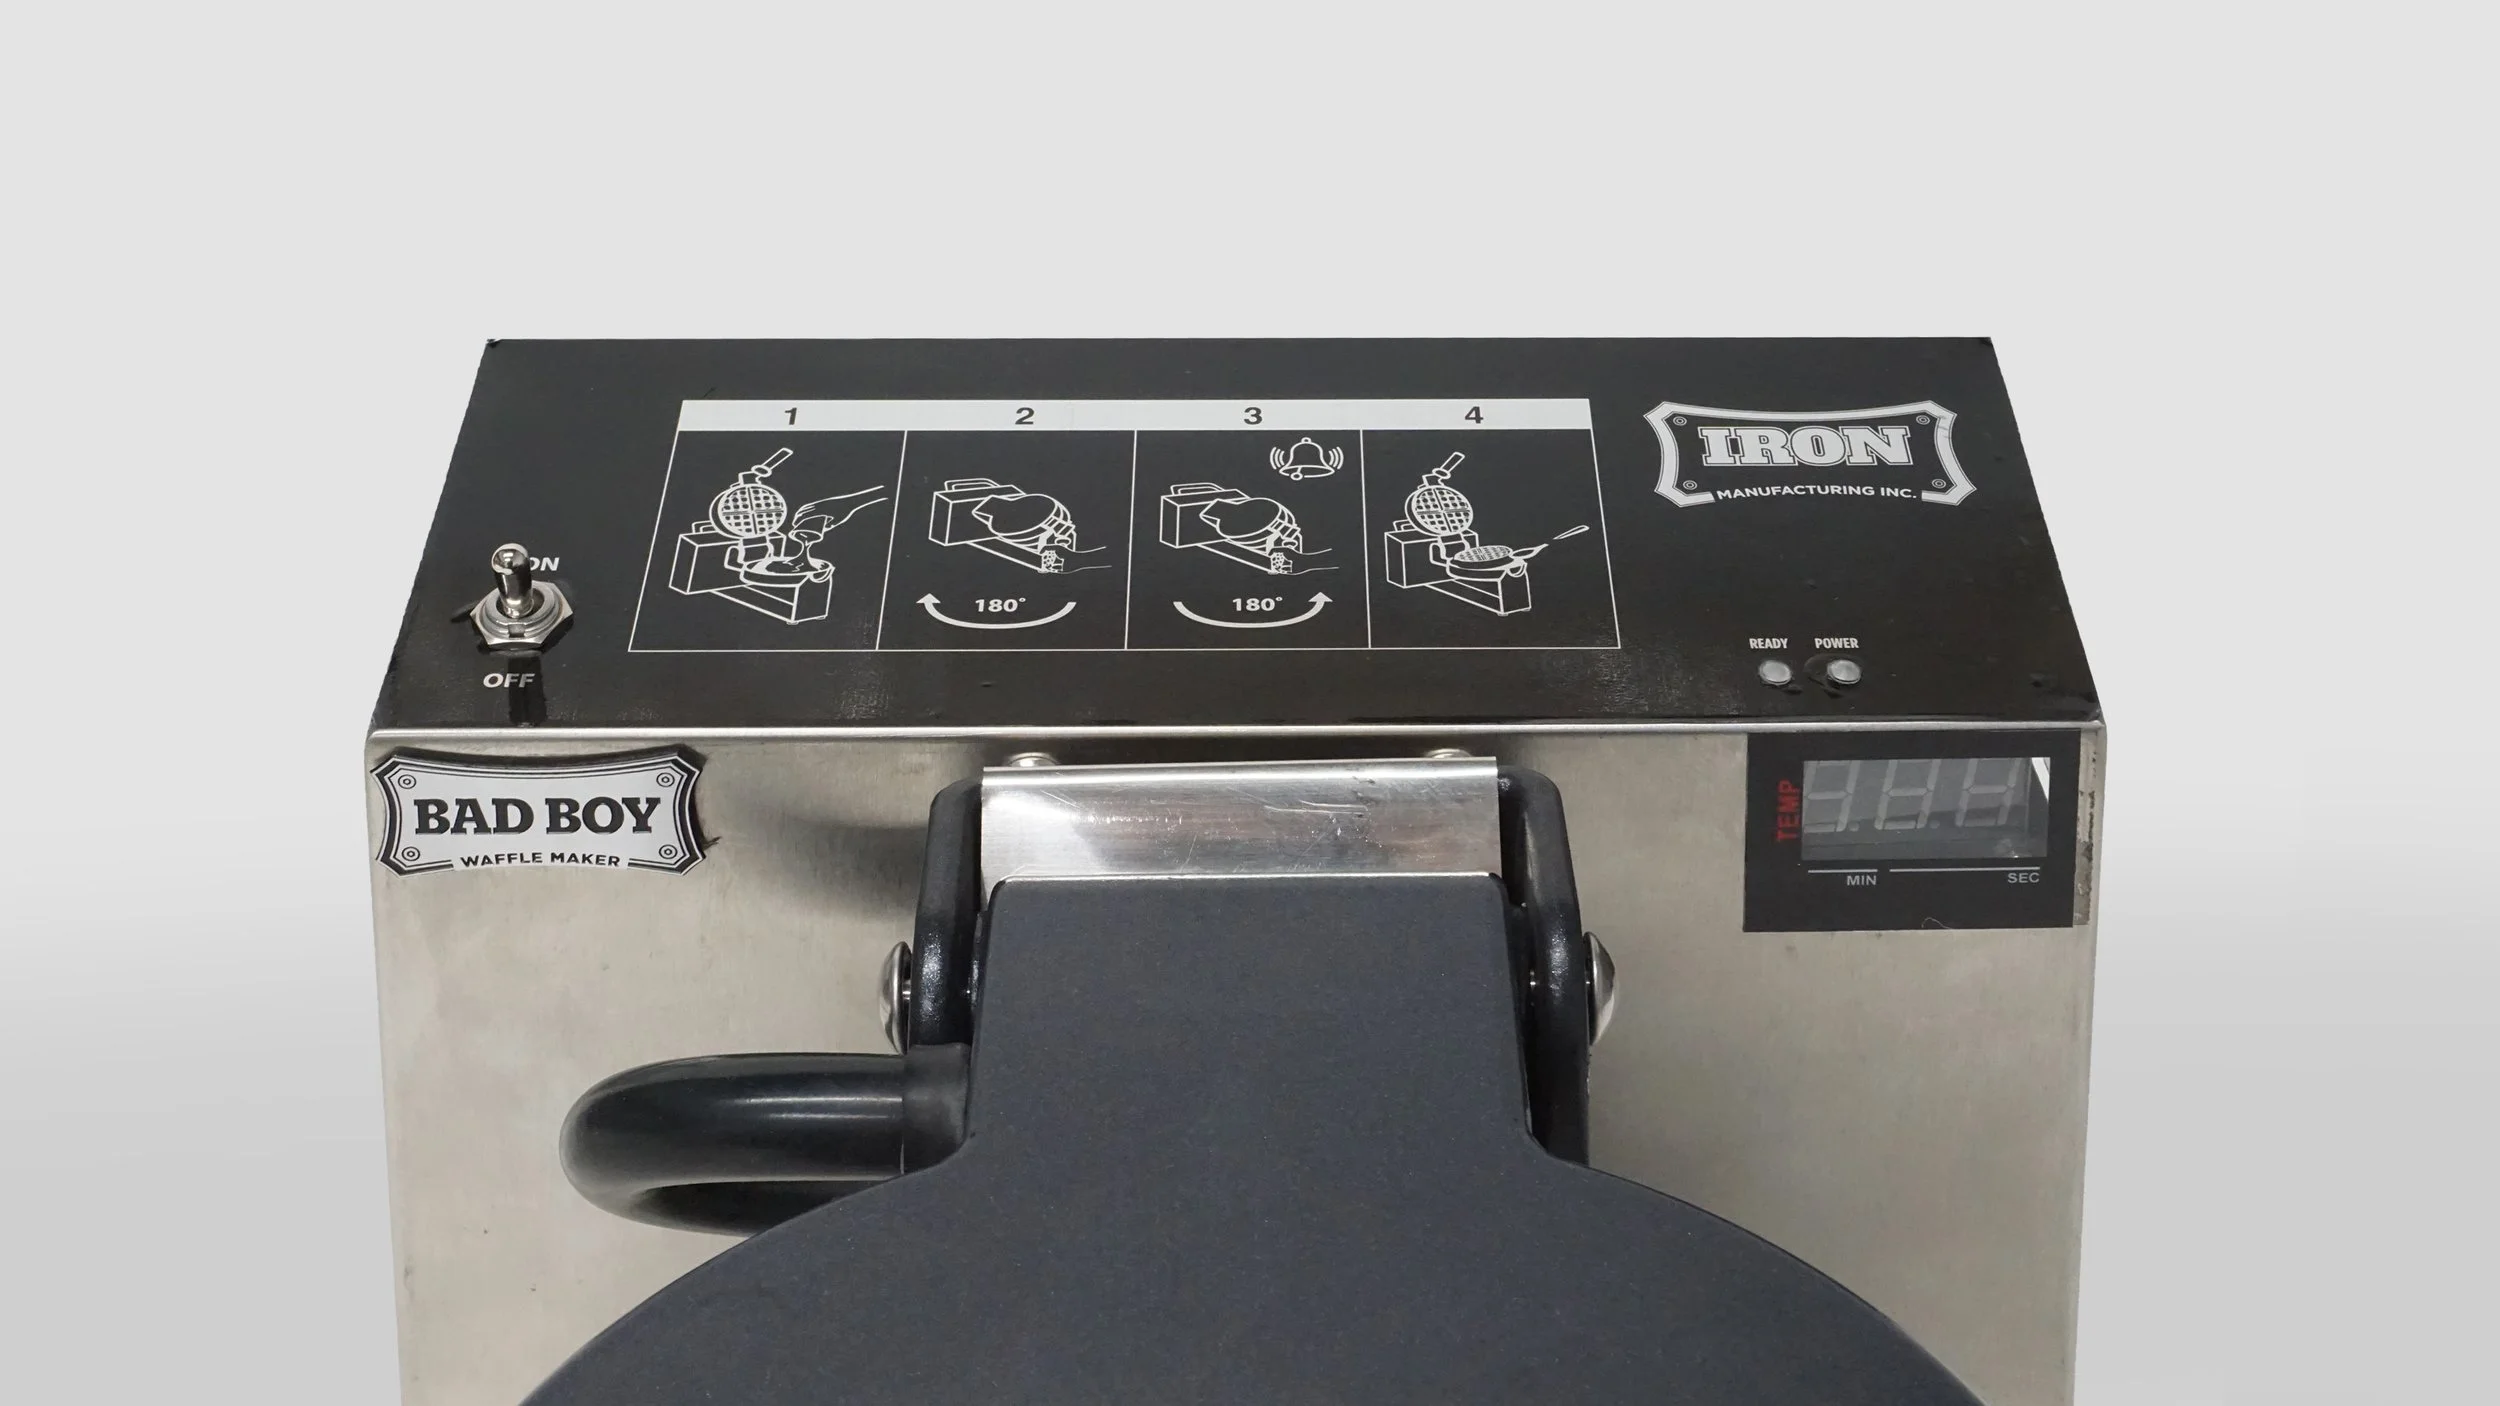
OPERATION
Turn unit on.
Apply approved Waffle baker Conditioner/Waffle Release spray liberally to both cooking surfaces.
When unit reaches temperature, green light will flash and unit will beep 7 times.
Pour 5 oz of waffle batter onto the bottom cooking grid using a plastic ladle or pitcher, covering all of the cooking surface.
Close waffle baker and turn clock-wise (right).
Timer will start automatically.
Unit will beep when cooking cycle is complete and continue to do so until it is turned back to the start position.
Rotate waffle baker back to start position and lift the top.
Remove waffle with high temperature plastic utensil of your choice. Remember to not use metal utensils.
PROPER STORAGE
This machine is a table top unit and should be placed on a stable counter or table, kept at least two inches from the wall and enough clearance all around for proper use.
Not meant for outdoor or portable use.
If transported, unit should be moved in its original packaging to prevent possible damage
NOTE: DO NOT IMMERSE/SUBMERGE UNIT IN WATER OR SPRAY DOWN WITH HOSE AS WATER WILL DAMAGE THE ELECTRONICS CAUSING UNIT FAILURE AND POSSIBLE RISK OF ELECTRIC SHOCK. THIS WOULD VOID ANY AND ALL WARRANTIES AND MAY CAUSE INJURY AND OR DEATH.
TROUBLE SHOOTING WHEN WAFFLES ARE STICKING
Immediately steam clean your waffle baker by placing 2 very wet paper towels on the bottom grid then close, rotate handle 180 degrees and press the start button. When timer sounds press stop button, open and repeat procedure again without rotating handle. Remove paper towel and wipe the rest of the surfaces of the waffle baker then turn it off.
Let grids cool down to room temperature.
Before you turn the waffle baker back on, spray the top and bottom grids with Waffle World Grid Conditioner. Spray enough conditioner to leave a milky white appearance on both the top and bottom grids. Do not use any other product such as Pam for this procedure.
Turn waffle baker on, the top light will show green.
When and only when the bottom light turns yellow, can you start to bake waffles. If you start before the bottom light is yellow you will have a sticking problem for certain. It will take approximately 15-20 minutes for the waffle baker to reach the proper cooking temperature.
After removing the baked waffle from the waffle baker use a brush to remove any residue waffle pieces from both grids before baking again.
Always leave waffle baker open, except when you are baking or steam cleaning it.
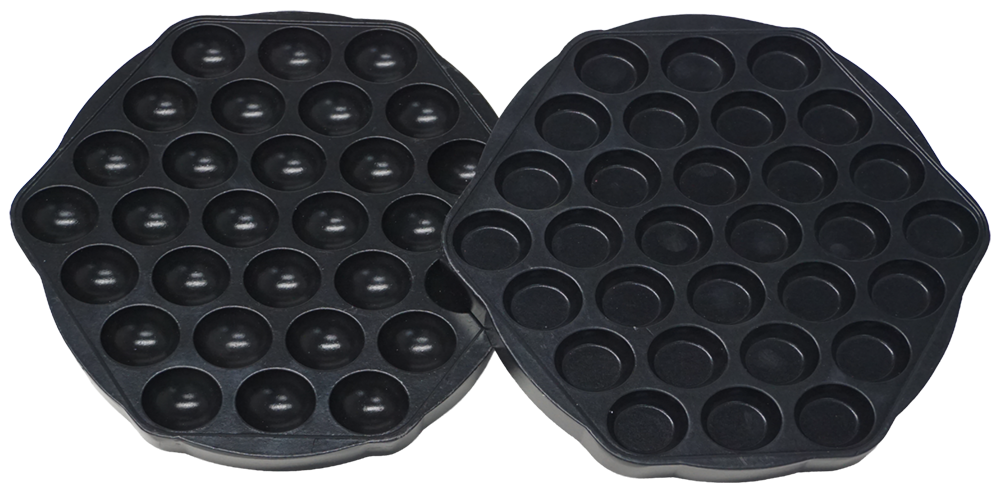
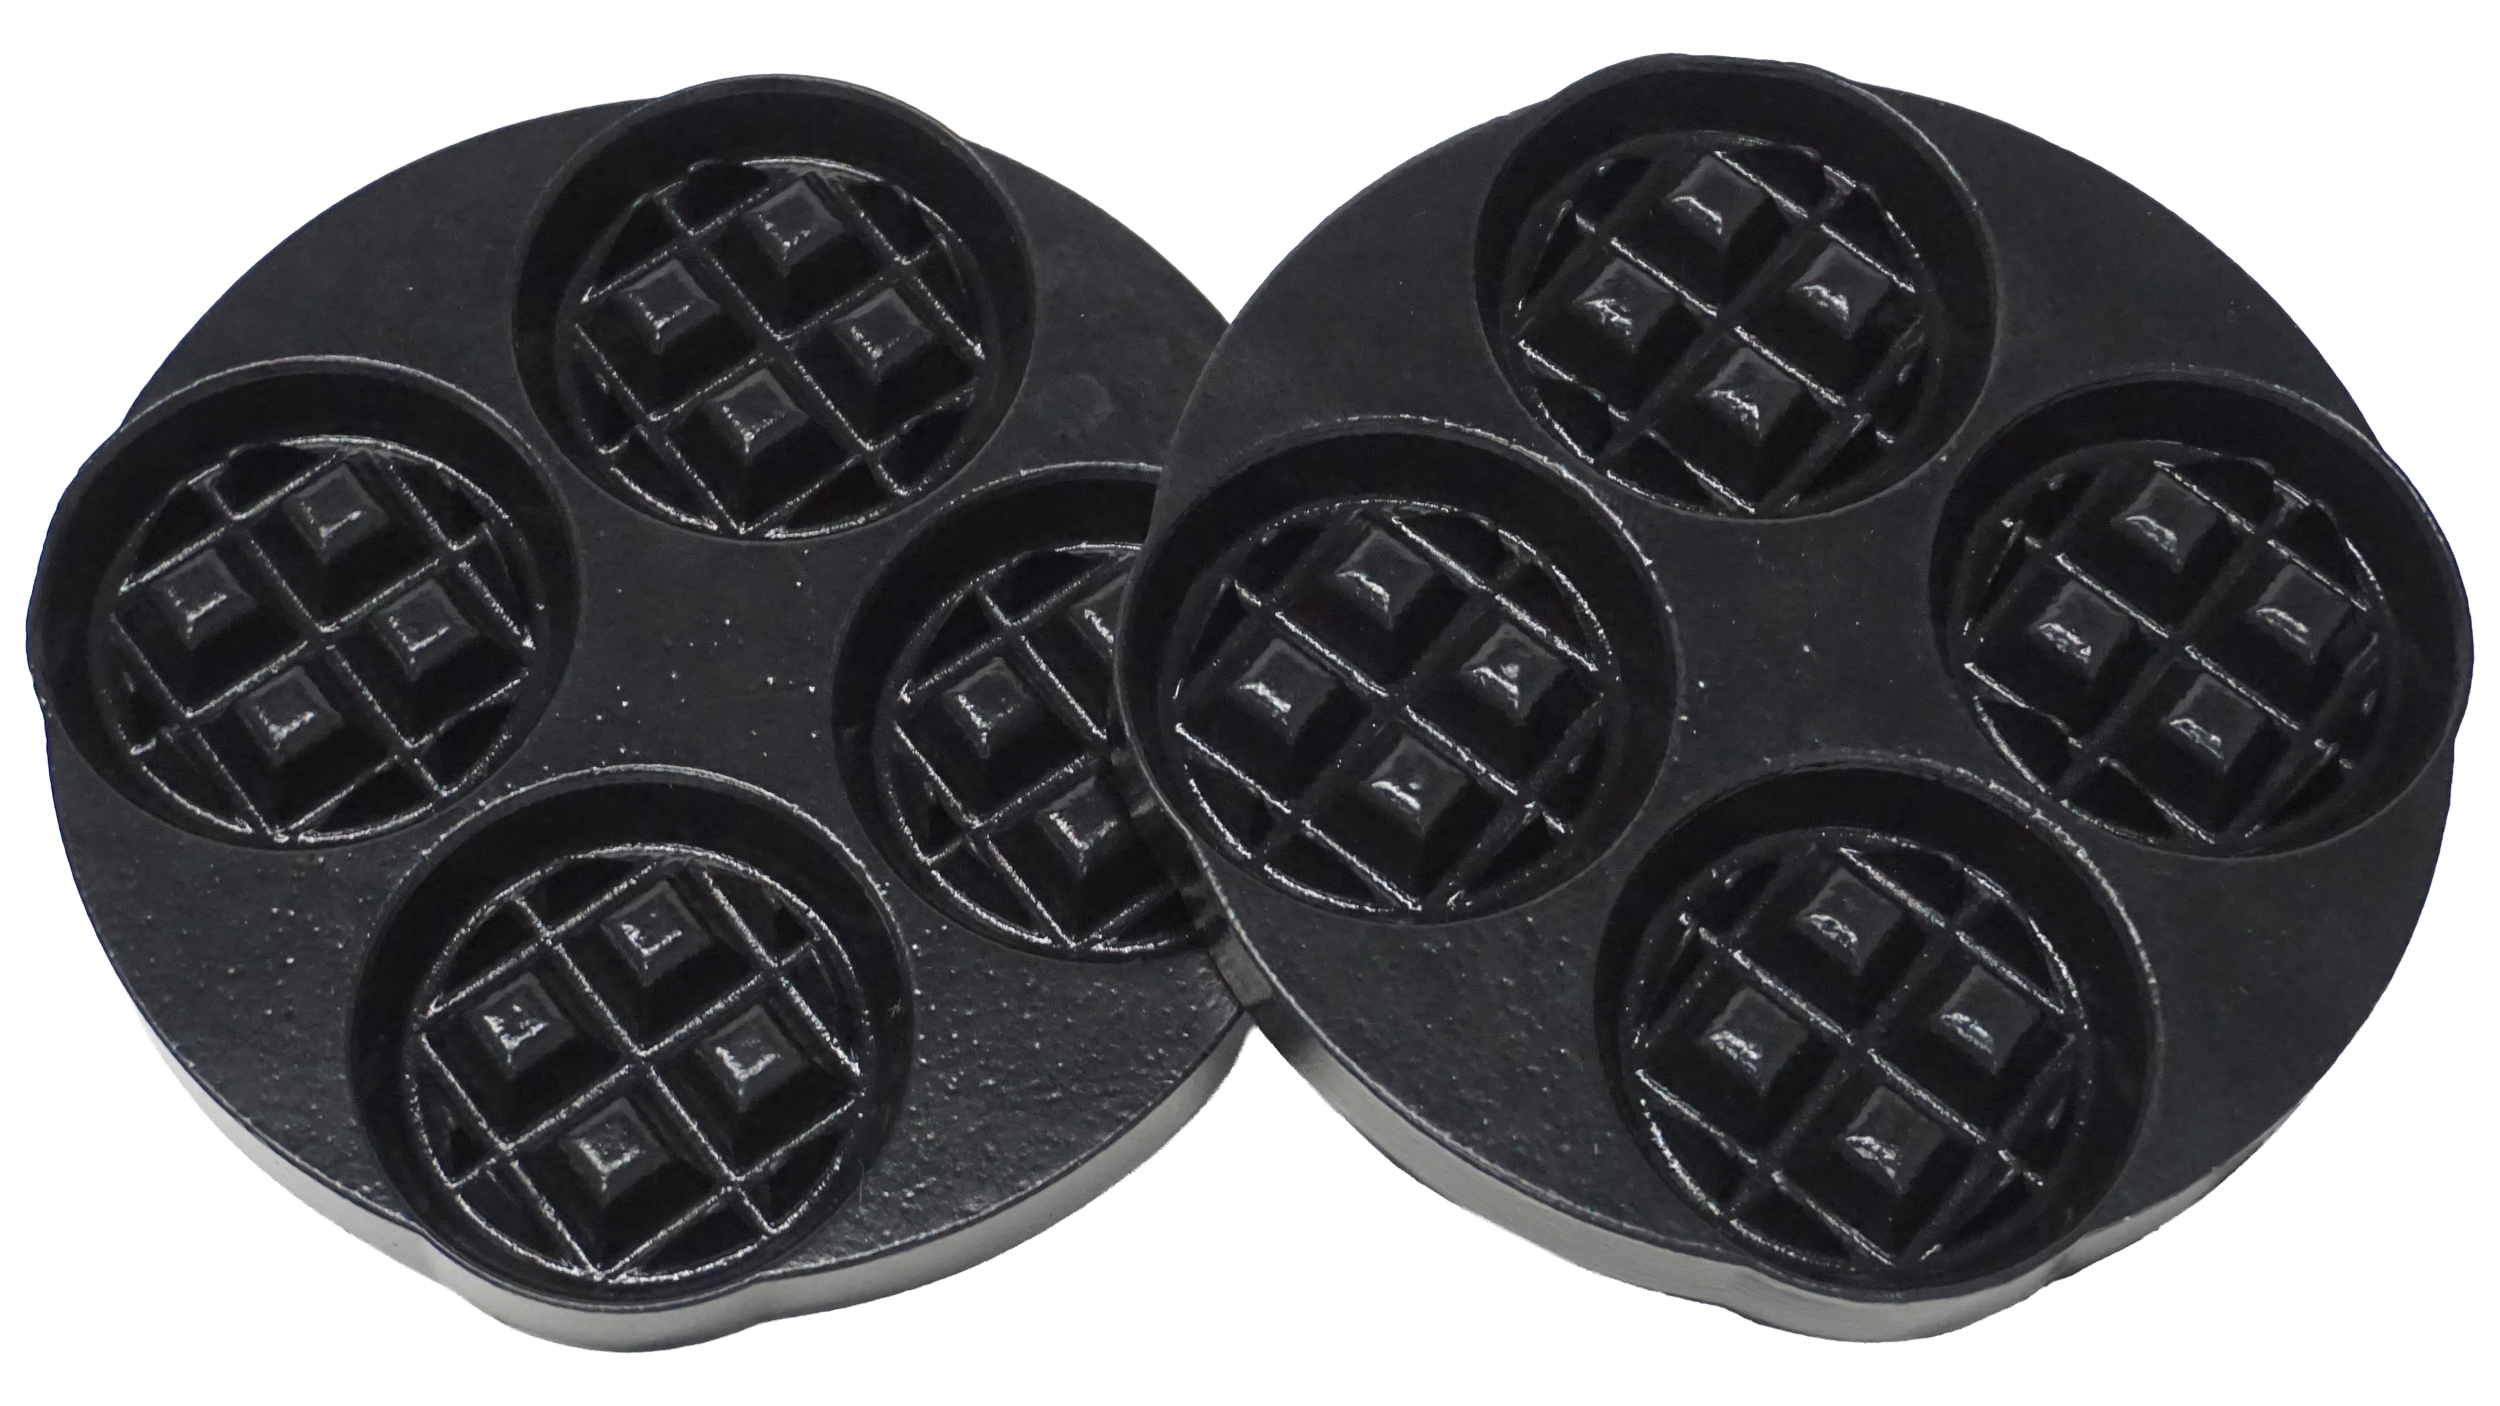
REMOVING & EXCHANGING WAFFLE BAKER GRIDS
One of the great features of these units is that you may easily remove the existing waffle plates and interchange them with new ones or one of our other waffle styles or, could remove them for intense cleaning (if required).
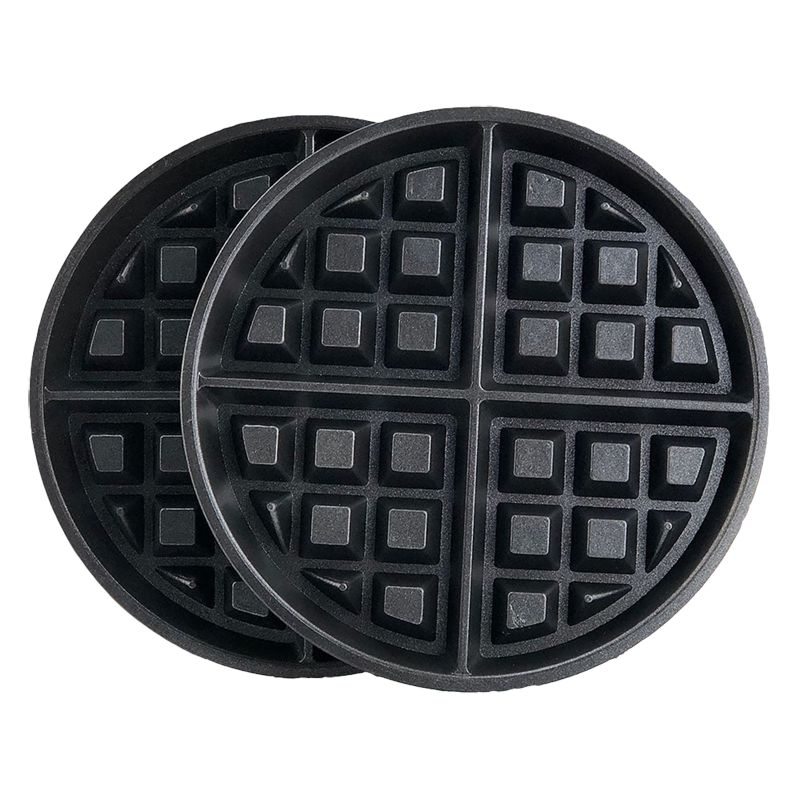
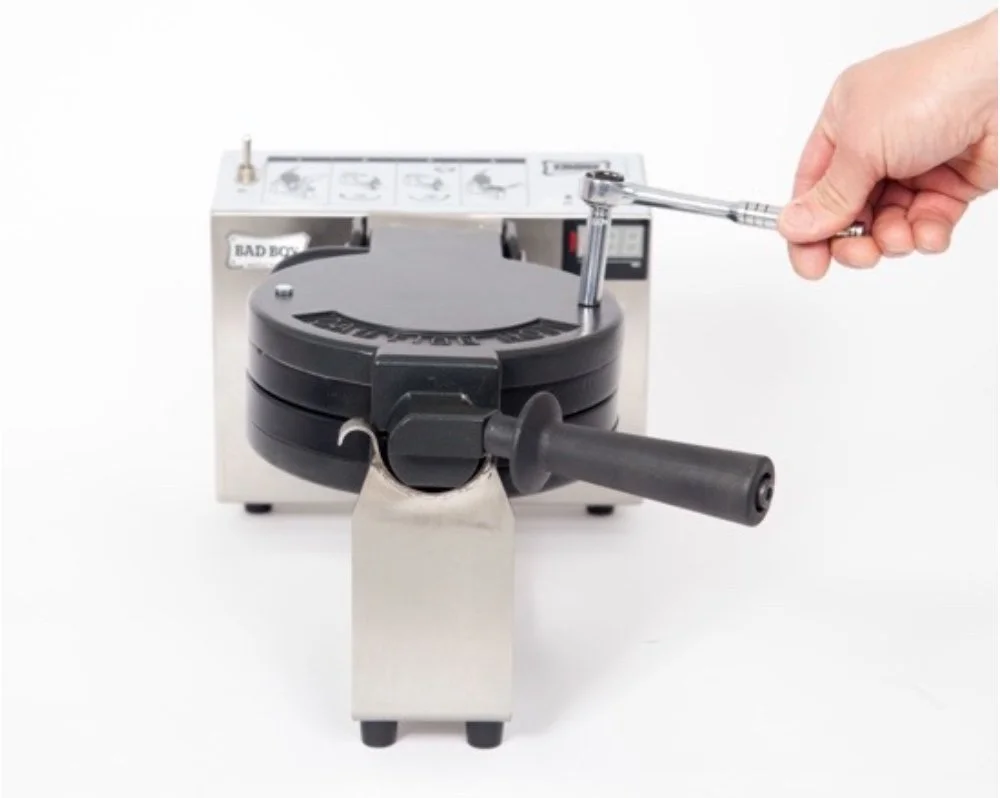
TO REMOVE WAFFLE PLATES
1. Ensure unit is cool, off and disconnected from power source.
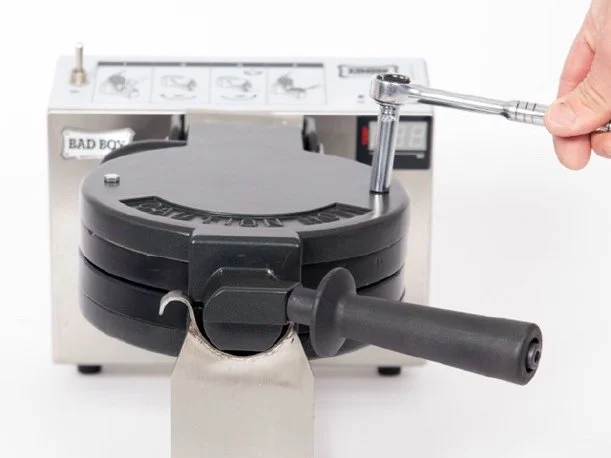
2. Rotate unit so you may remove the bottom carrier screws using an 8mm socket or tool provided.
3. Rotate unit back 180’ and repeat action for top carrier.
4. Raise top carrier and remove both plates.
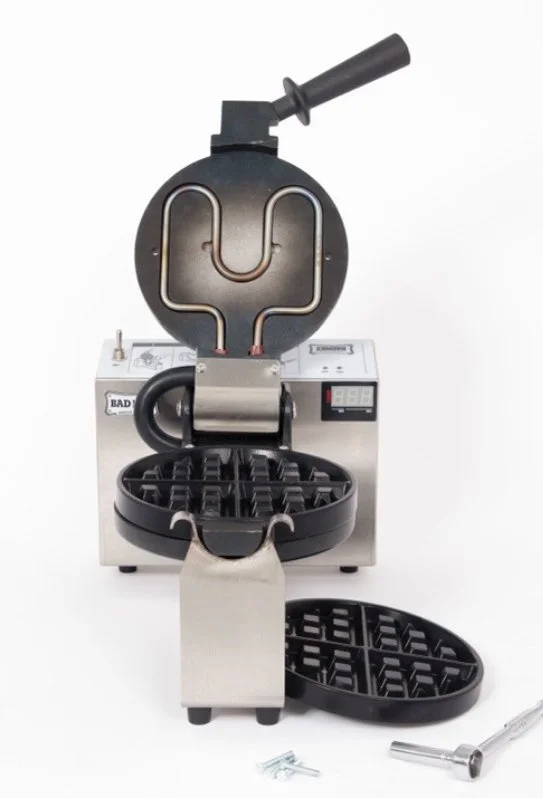
TO INSTALL WAFFLE PLATES
It is recommended that you wash any new waffle plates before installing them, in order to ensure a clean cooking surface.
1. Ensure unit is cool, off and disconnected from power source.
2. Lift top carrier open.
3. Place plate in bottom carrier.
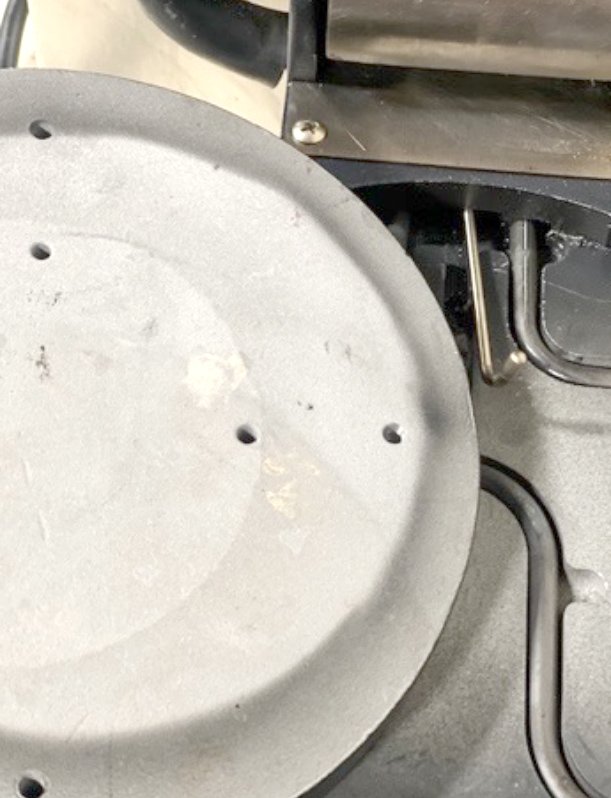
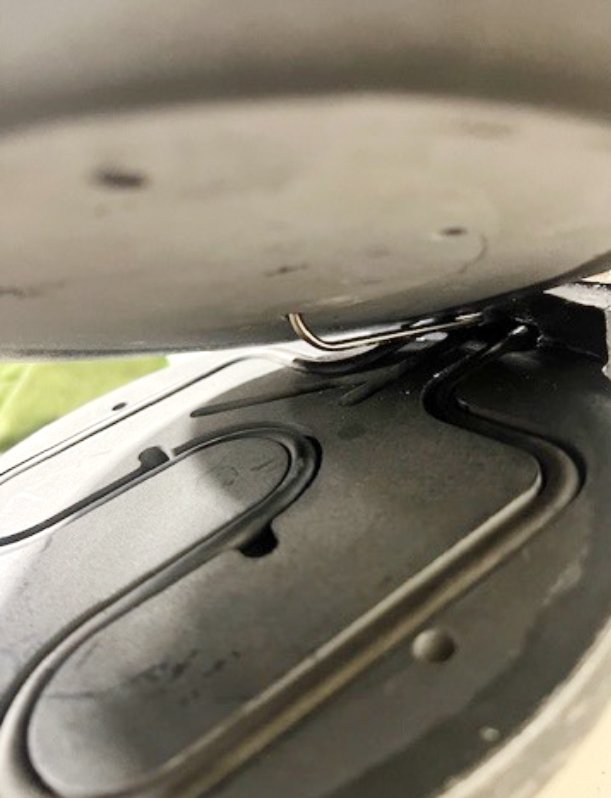
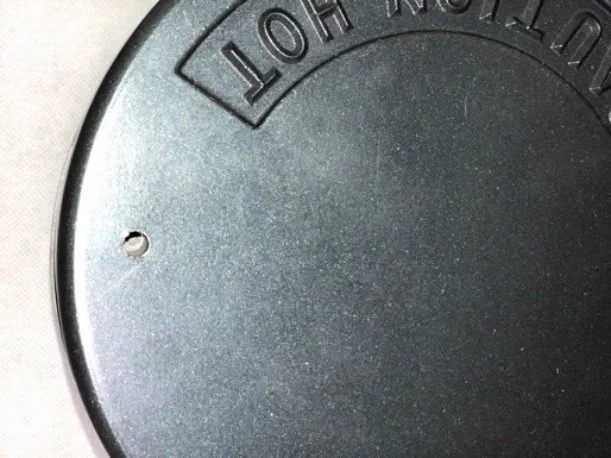
4. Insert Thermocouple (temperature sensor) in pilot hole located on the bottom of the plate.
5. Place second plate face down on top of bottom plate and close waffle maker so plate is positioned in top carrier.
6. Align carrier screw holes with plate holes.
7. Insert carrier screws in the top carrier holes.
8. Using an 8mm socket begin tighten screws half way.
9. Now tighten screws all the way, beginning with the first one you placed.
NOTE: IT IS IMPORTANT TO NOT COMPLETELY SCREW IN EITHER SCREW WHEN FIRST PLACING THEM IN THE HOLES TO ENSURE PROPER PLATE POSITION
10. Rotate carriers 180’ and repeat above steps for bottom plate.
11. When completed, rotate carriers back to start position, plug in, turn switch on and wait for unit to reach temperature before using again.
CLEANING INSTRUCTIONS
In order for unit to consistently perform properly, it is imperative that you follow these very simple cleaning procedures at the end of each day.
CAUTION: SOME OF THESE PROCEDURES ARE TO BE PERFORMED WHILE THE MACHINE IS STILL HOT AND THEREFOR ATTENTION AND CAUTION ARE STRONGLY REQUIRED. HEAT RESISTANT GLOVES ARE RECOMMENDED DURING THESE PROCEDURES
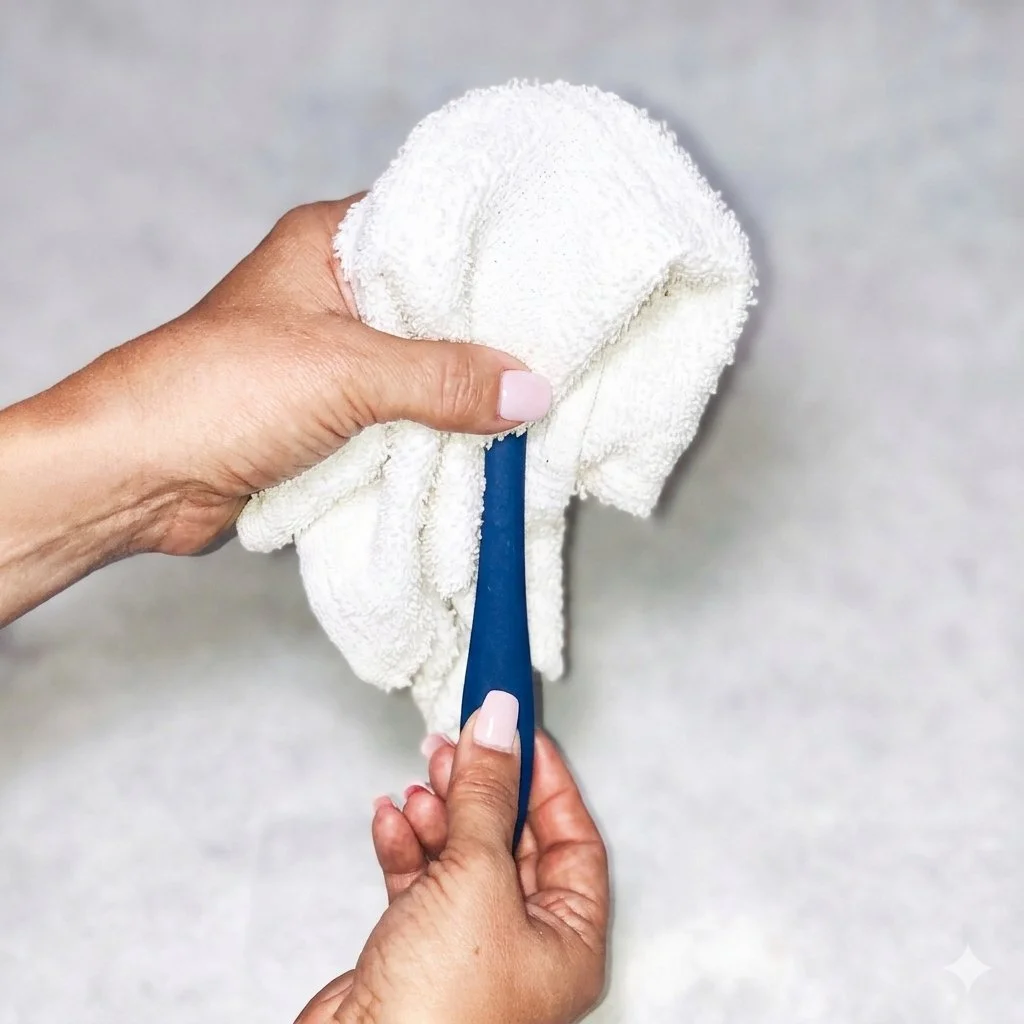
While machine is still hot the end of each shift, soak a cotton cloth with water and place over the lower cooking surface and then close the top and let sit for 1:30 minutes.
Lift the top and remove the hot towel with a plastic utensil.
Fold it over a high temperature plastic spatula and clean in between the griddles and grooves removing any loose particles or build up. (pic 1)
Other than the base of the unit, it is best to clean the remaining sections of the waffle maker when it has cooled down to avoid possible injury from touching any of the hot surfaces.